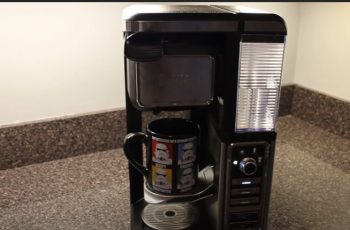
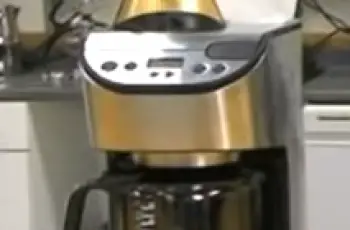
Originating from Thomas Edison’s establishment of Edison General Electric in 1890, General Electric has grown into a global corporation. Beyond producing digital coffee machines, GE also manufactures various minor domestic devices. Such coffee makers are equipped with an automatic cleaning function, a charcoal water filtration system, and a programmable timer, allowing you to prepare your coffee in advance and have the machine brew it at your chosen time.
The Time Setting Process
It is possible to schedule GE coffee makers to make coffee at a later time. By holding the Hour and Minute buttons for a few seconds, you can manage your time. You will see the clock begin to flash.
Step 1. Plug your GE coffee maker into an electrical outlet.
Step 2. The “HR” button must be held down for two seconds to activate it, and then pressed repeatedly to advance the clock by one-hour intervals until it reaches the hour you desire.
Step 3. To advance the clock in one-minute intervals, press and hold the “MIN” button for two seconds before releasing it. If you hold the button, you will advance more quickly.
Step 4. To confirm the current set time, press the “Brew/Cancel”, “Auto Brew”, or “Bold” buttons after setting the time. Alternatively, do not operate the appliance for 15 seconds to confirm the set time.
Remember that holding down the “HR” or “MIN” keys for more than 3 seconds enters the clock setting mode on the appliance when in standby mode.
Taking Care Of And Cleaning Up
If you’re cleaning your appliance, make sure it’s unplugged. If you want to protect yourself from electrical shock, do not submerge the plug, cord, or unit in water or liquid. The plug should always be removed from the wall outlet after each use.
Step 1. Immediately clean all removable parts with hot, soapy water after each use.
Step 2. To remove stains, wipe the exterior surface of the unit with a soft, damp cloth.
Step 3. During brewing, water droplets can build up in the area above the funnel and drip onto the base of the coffee maker. After using the product, wipe the affected area with a clean, dry cloth.
Step 4. Then return all parts to their original locations.
The Removal Of Mineral Deposits
You should periodically clean away mineral deposits left by the water in your coffee maker to keep it running efficiently. If you are using the water frequently, we recommend removing mineral deposits as follows:
Step 1. Fill the tank to the maximum level indicated on the water gauge with water and descaler. It is 4:1 water to descaler. If you want to use “Household descaler”, combine 100 parts water and 3 parts citric acid.
Step 2. Make sure your serving cup is under the brew basket.
Step 3. Place the funnels in their correct positions.
Step 4. Start the coffee maker and let it “Brew” a descaling solution.
Step 5. Then, turn off your coffee maker after you’ve brewed the solution.
Step 6. Repeat steps 3-5 after letting the solution sit for 15 minutes.
Step 7. You should turn on your coffee maker and run the water tank down until it is empty.
Step 8. At least three times, rinse the coffee maker with water.
Great-Tasting Coffee Tips
- Clean coffee makers produce great-tasting coffee. Make sure the coffee maker is cleaned regularly. Ensure that you use fresh water in your coffee maker.
- Cool and dry is the best place to store unused coffee powder. When opening a coffee powder package, reseal it tightly and refrigerate it to keep it fresh.
- To get the best cup of coffee, buy whole beans and grind them just before you brew.
- It is not wise to re-use coffee powder since this will detract from the flavor. A brewed cup of coffee should not be reheated as it is at its most flavorful right after brewing.
- The coffee maker should be cleaned if over-extraction causes oiliness. It is the extraction of oil from the coffee powder that causes small oil droplets to appear on the surface of steaming black coffee.
- The use of heavily roasted coffees could result in more oiliness.
Conclusion
It is a breeze to make delicious coffee with the GE coffee makers that can be operated at the touch of a button. Even though cleaning your GE coffee maker can be tedious, it is necessary if you want your brewer to keep running. Being able to clean your brewer is a relatively easy job, and you probably already know that. Hopefully, this guide was able to assist you in properly cleaning your GE coffee maker so that you can enjoy your coffee once again!


